Robotic lawn mower installation
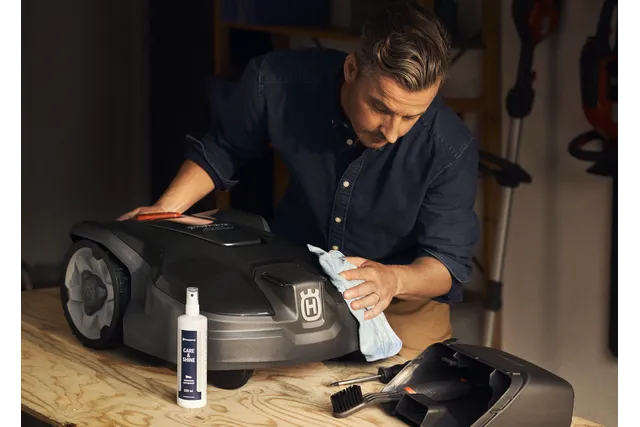
Owning a Husqvarna Automower® mower is all about ease of use, which is felt instantly as even the installation process has been fine-tuned. Here’s a guide on how easy it is to install a Husqvarna robotic lawn mower.
Husqvarna offers an Automower® robotic mower for every garden. Including two different options for installation; either physical wire installation or a wireless installation, available on certain models. See more detailed installation instructions on robotic lawn mower boundary wire installation and wireless installation.
1. Connect to Automower® Connect
The Automower® Connect app gives you the full Automower® experience, offering the best interaction with your mower plus much more. Simply download the app and create a Husqvarna account then you are ready to connect to your mower.
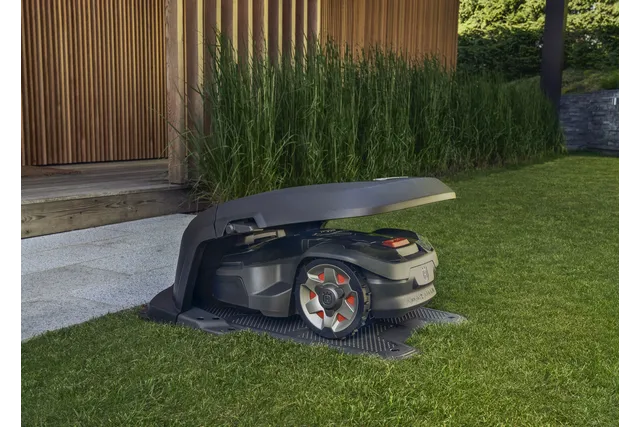
2. Place the charging station
Place the charging station on flat ground in the middle of the cutting area with some free space around it. Once in place, it’s time to charge your robot lawn mower. Put the mower in the charging station, turn it on and move on to the next step. Charging an empty battery takes 30-90 minutes, depending on model. For a wireless installation using EPOS™ technology, a reference station also needs to be installed.
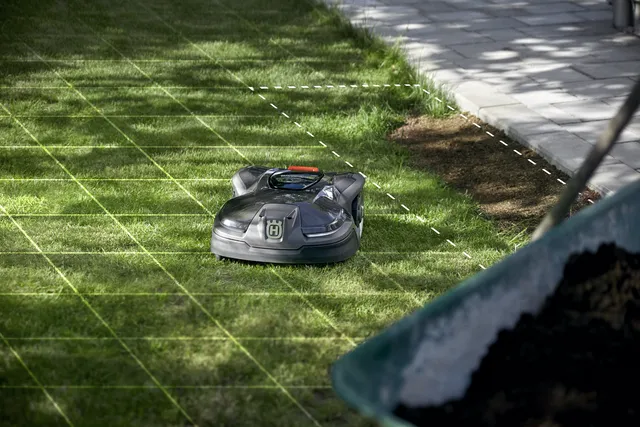
3. Create the boundary
A boundary is created around the edges of your lawn to define the cutting area. This is either a physical boundary using wire which is attached to the ground or a virtual boundary which is created by remote driving your mower around your lawn via the app. ‘Islands’ can be created around flowerbeds and bushes to keep the mower from running into them.
4. Create the guide
The purpose of the guide wire is to lead Husqvarna Automower® back to the charging station when needed, as well as to help your robotic mower reach remote areas of your lawn. For a wired installation you connect one end of the wire to the charging station, place the wire across the lawn to the farthest part of your garden, and then attach it to the boundary wire. Both the boundary and the guide wire are then connected to the charging station. For a wireless installation, multiple virtual guides can be created in the app.
5. Set up your schedule then relax
Now you are ready to get started, use the app to set your schedule and cutting height. For certain models, you can even create zones for a more tailored mow. And that’s it! The robotic mower will charge until ready before it heads out – at which point you have officially mowed the lawn for the last time.