How to lay a guide wire in an Automower® installation
In an Automower® installation, the purpose of our patented guide wire is to navigate your Automower® robotic lawn mower back to the charging station when necessary, reducing search times, particularly in complex yards.
Guide wires also direct the robotic lawn mower to remote work areas and manage passages as narrow as 60 cm / 2 ft. For passages less than 2 m / 6.5 ft. wide, we strongly recommend using a guide wire to lead the mower through the passage. The mower varies its route to and from the charging station to prevent leaving tracks in the lawn.
Depending on the model, using a guide wire is required. For other models it is optional, but we always recommended installing one or more guide wires. The number of guide wires your Automower® robotic lawn mower can support depends on the model.
How to lay a guide wire
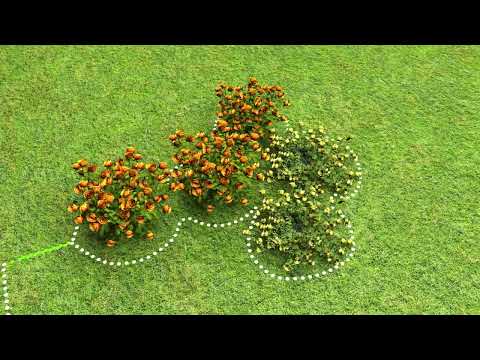
Tip! To enable subtitles, start playing the video and click the gear icon for settings. Then choose "Subtitles/CC" and select from the available languages.
Laying a guide wire: Step-by-step instructions
- Start at the charging station: The guide wire should start from the rear of the charging station and be centered under the base plate. One end of the guide wire is to be connected to the charging station and the other end to the boundary wire.
- Choose the right wire: Use the same type of wire in the whole installation. The guide wire and the boundary wire should be of the same type.
- Use Automower® accessories: Automower® Connector and Automower® Coupler, used to connect the guide wire to the charging station and the boundary wire, are part of our range of high-quality Automower® accessories.
- Connect the guide wire: Attach an Automower® Connector to the end of the wire and place it on the G1 pin on the charging station (or G2 or G3 pin if it is your second or third guide wire). We suggest marking the wires with wire labels for easy reconnection, especially after storing the charging station indoors for the winter. For Automower® NERA models, all connectors are accessible from the front of the charging station.

- Lay the wire: In front of the charging station, lay the wire at least 2 m / 6.5 ft. (for Aspire™ R4: 1 m / 3.3 ft.) in a straight line. Use stakes to secure the wire to the ground all the way to the planned spot for connection to the boundary wire.
- Connect to the boundary wire: At the connection point with the boundary wire, cut the boundary wire using a pair of wire cutters. Connect the end of the guide wire to the boundary wire using an Automower® Coupler. See How to use an Automower® Coupler.

- Calibrate and verify: Once the guide wire is installed, we recommend calibrating the guide wire and verifying that the mower can follow the guide wire to the charging station and dock easily.
Good to know:
- If you have an open lawn, lay the guide wire from the charging station to a central point on the opposite side of the lawn.
- Avoid laying the wire at sharp angles (above 45°) as this can make it difficult for the robotic lawn mower to follow the guide wire.
- The robotic lawn mower always runs to the left of the guide wire as seen facing the charging station, so ensure as much space as possible is provided to the left of the guide wire.
- If you lay the guide wire on a slope, place the wire diagonally to provide the mower with optimal traction.
- The guide wire should not cross the boundary wire, for example, where the boundary wire goes to an island.
- Maintain a minimum distance of 30 cm / 12 in. between the boundary wire and the guide wire.
- If the guide loop exceeds 400 m / 1300 ft. (150 m / 490 ft. for Aspire R4), the robotic lawn mower mayu struggle to follow the guide wire.
- Please note, Automower® 320 NERA and 310E NERA have three guide wire connections, but they only support using two guide wires, so only G1 and G2 can be used. Connecting a guide to G3 will not work.
Guide wire installation: Example
In the below illustration, two guide wires are used. One wire leads the mower around the house to the garage, while the other guides the mower through the fence, down the slope, and all the way through the passage and down to the greenhouse. The guide wire also helps the mower find its way back.

Guide wire settings
After installation, we recommend adjusting the lawn coverage settings based on the complexity of your lawn. To ensure that your mower covers all areas of your lawn, you can use GPS assisted navigation (if supported by your mower) or set lawn coverage settings that use the boundary and guide wires to direct the mower to specified areas in your lawn.
GPS assisted navigation allows your mower to use a built-in GPS to automatically determine which areas need to be mowed next. The lawn coverage settings can be adjusted in the Automower® Connect app under More > Settings > Installation > Lawn Coverage or using the mower display under Installation > Lawn coverage.
Note: If your mower supports AIM Technology, you get even more control of the lawn coverage as you can easily create work areas with unique schedules and cutting heights using the Automower® Connect app.