How-To's & Guides

How to fit the cutting deck on your professional Husqvarna ride-on front mower

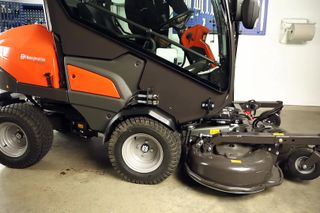
The flexibility of your professional Husqvarna ride-on front mower means that you can quickly adapt it to the work at hand, or for new tasks for the season.

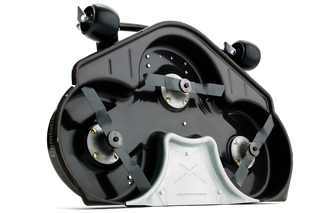
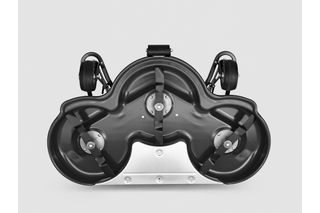
Guide to mounting cutting deck
  1. Ride the machine to the cutting deck.
  2. Lower the lift arms to the cutting deck attachment points. Warning! If the help function is engaged the lift arms will move with great force when you release the lift lever. Be careful to avoid trapping your hand. There is a risk of crush injuries.
  3. Activate the parking brake and turn off the engine.
  4. Insert the bolts for the link joints and the pins on both sides of the cutting deck.
  5. Fit the universal drive shaft to the cutting unit. The propeller shaft is marked with an arrow indicating the direction in which it is to be connected to the power take-off on the machine. Slide back the ring to release the quick coupling and the universal drive shaft can be pushed onto the shaft journal.
  6. Secure the front locking chain to the universal joint cover around the cross pipe.
  7. Ensure the rubber casing is folded over the front universal joint.
  8. Remove the service hatch.
  9. Couple the rear of the propeller shaft to the power take-off on the machine.
  10. Fit the locking chain to the universal joint cover around the lifting beam.
  11. Refit the service hatch.
  12. Start the engine and lift the cutting unit halfway up.
  13. Turn off the engine.
  14. Fit the lifting eyes that are attached to the lift arms. Pull out the catch and press in the lifting eye. There is one for each lift arm.
  15. Fit the lifting eyes that are attached to the lift arm. Pull out the catch and press in the lifting eye. There is one for each lift arm.
    Check and adjust the tilt angle of the cutting unit.